If, for some reason, you increased a GCP VM boot disk size following the standard procedure and then decided you didn’t need all that space, when you want to shrink the disk size, you find out that, well… it is not that easy as increasing it, but it is possible.
It is a tough and time-consuming process…
TLDR
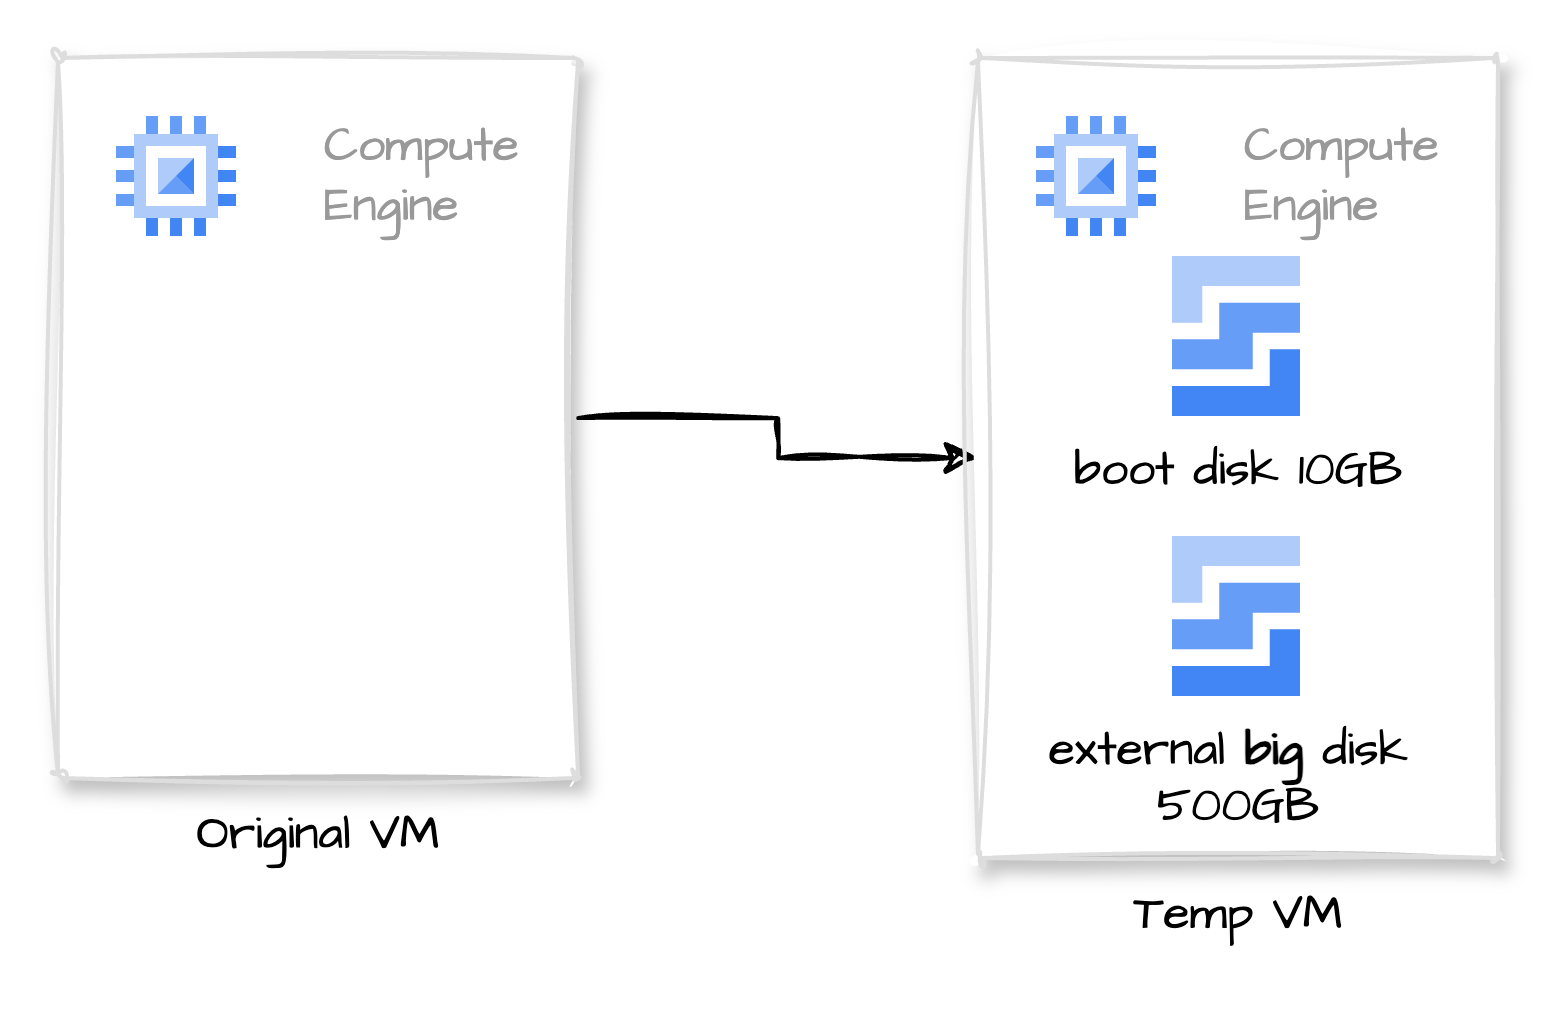
In short, we will need a temporary VM, attach the disk to it, resize the filesystem and partition, create a new disk with the desired size, and clone the contents.
Important assumptions:
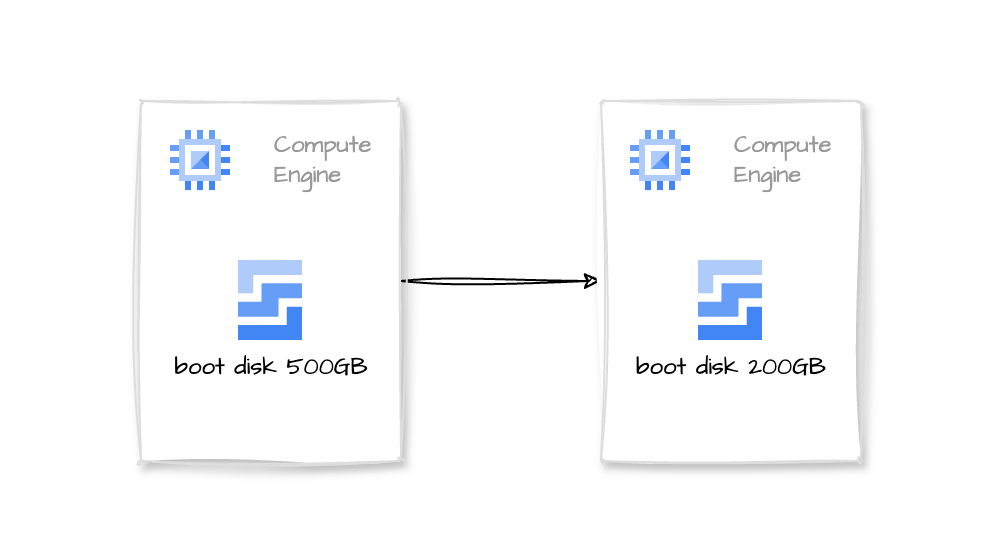
- We will resize a 500G disk to 200G.
- We have already freed up space in the disk.
- For this particular tutorial, we are using Debian 9
Step by Step Process
- First, stop the original VM
- Create a snapshot of the disk (for backup purposes)
- Create a new VM. We will name it the temp VM and use it to mount the disk and resize it.
- Detach the big disk from the original VM. Attach it to our new temp VM.
- Mount it
mkdir -p /mnt/disks/bigdisk
mount -o discard,defaults /dev/sdb1 /mnt/disks/bigdisk
ls -la /mnt/disks/bigdisk- Check the available disk size
df -Th
Filesystem     Type      Size  Used Avail Use% Mounted on
udev           devtmpfs  2.0G     0  2.0G   0% /dev
tmpfs          tmpfs     393M  456K  393M   1% /run
/dev/sda1      ext4      9.7G  2.0G  7.2G  22% /
tmpfs          tmpfs     2.0G     0  2.0G   0% /dev/shm
tmpfs          tmpfs     5.0M     0  5.0M   0% /run/lock
/dev/sda15     vfat      124M   12M  113M  10% /boot/efi
tmpfs          tmpfs     393M     0  393M   0% /run/user/1002
/dev/sdb1      ext4      493G  133G  340G  29% /mnt/disks/bigdisk
Note that the partition is using 133G of space. We can shrink the disk to 200G and leave some room to grow.
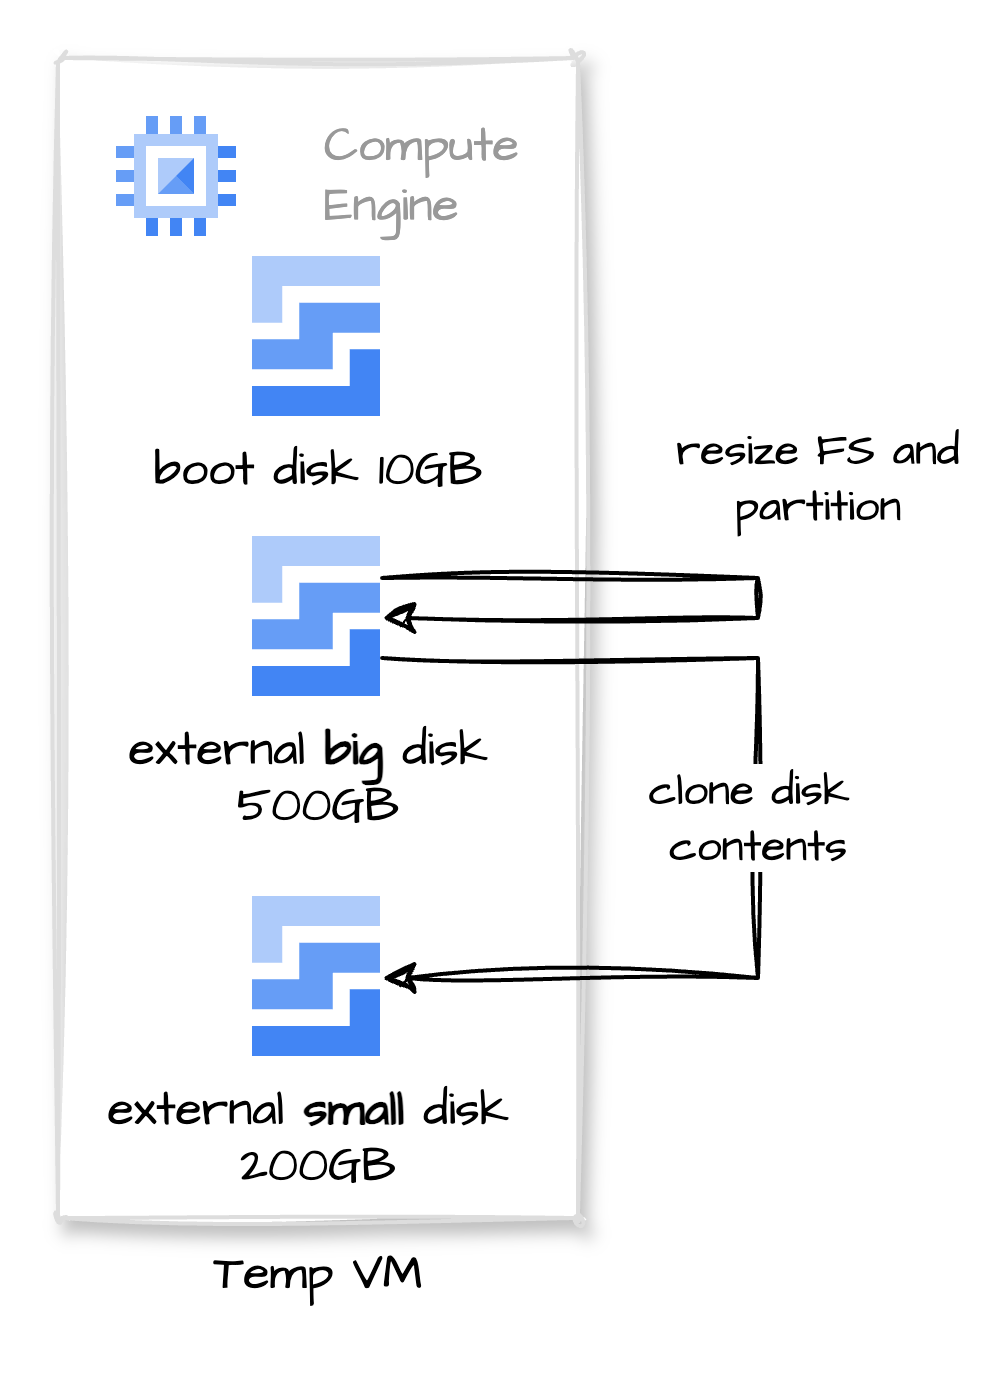
NOTE: to avoid any issues and make things run faster, we will shrink the filesystem to 150G and partition to 160G, then expand everything to 200 in the new disk
- Run resize2fs to resize the filesystem
umount /dev/sdb1
e2fsck -f /dev/sdb1
resize2fs -p /dev/sdb1 150G
e2fsck -fy /dev/sdb1
The process will take some time, approximately 10 minutes in this case.
- After resizing the filesystem, we prepare to resize the partition
You can use fdisk or cfdisk. Note that to resize the partitions, we point to the disk, sdb instead of sdb1
- If fdisk is not installed, apt install fdisk
- Check partitions and get the first block size:
fdisk -l /dev/sdb
Disk /dev/sdb: 500 GiB, 536870912000 bytes, 1048576000 sectors
Disk model: PersistentDisk
Units: sectors of 1 * 512 = 512 bytes
Sector size (logical/physical): 512 bytes / 4096 bytes
I/O size (minimum/optimal): 4096 bytes / 4096 bytes
Disklabel type: dos
Disk identifier: 0x96c8eef6

Device     Boot Start       End   Sectors  Size Id Type
/dev/sdb1  *     4096 419434495 419430400  500G 83 Linux
The important number is 4096. We will use it later
- Resize the partition
Keyboard inputs are in bold
fdisk /dev/sdb

Command (m for help): p
Disk /dev/sdb: 500 GiB, 536870912000 bytes, 1048576000 sectors
Disk model: PersistentDisk
Units: sectors of 1 * 512 = 512 bytes
Sector size (logical/physical): 512 bytes / 4096 bytes
I/O size (minimum/optimal): 4096 bytes / 4096 bytes
Disklabel type: dos
Disk identifier: 0x96c8eef6

Device     Boot Start       End   Sectors  Size Id Type
/dev/sdb1  *     2048 419432447 419430400  200G 83 Linux

Command (m for help): d
Selected partition 1
Partition 1 has been deleted.

Command (m for help): n
Partition type
   p   primary (0 primary, 0 extended, 4 free)
   e   extended (container for logical partitions)
Select (default p): p
Partition number (1-4, default 1): *Enter*
First sector (2048-1048575999, default 2048): 4096
Last sector, +/-sectors or +/-size{K,M,G,T,P} (4096-1048575999, default 1048575999): +160G

Created a new partition 1 of type 'Linux' and of size 200 GiB.
Partition #1 contains a ext4 signature.

Do you want to remove the signature? [Y]es/[N]o: N

Command (m for help): a
Selected partition 1
The bootable flag on partition 1 is enabled now.

Command (m for help): p
Disk /dev/sdb: 500 GiB, 536870912000 bytes, 1048576000 sectors
Disk model: PersistentDisk
Units: sectors of 1 * 512 = 512 bytes
Sector size (logical/physical): 512 bytes / 4096 bytes
I/O size (minimum/optimal): 4096 bytes / 4096 bytes
Disklabel type: dos
Disk identifier: 0x96c8eef6

Device     Boot Start       End   Sectors  Size Id Type
/dev/sdb1  *     4096 419434495 419430400  160G 83 Linux

Command (m for help): w
The partition table has been altered.
Calling ioctl() to re-read partition table.
Syncing disks.
- Now we attach a new empty 200G disk to the temp VM. (it will be /dev/sdc)
- Clone the disk to the new one:
dd if=/dev/sdb of=/dev/sdc bs=8M status=progressThis operation will take some time, it took another 10 minutes
After 200G (the physical disk size), dd will fail, saying the destination disk is full (which is true!)
dd: error writing '/dev/sdc': No space left on device
25601+0 records in
25600+0 records out
214748364800 bytes (215 GB, 200 GiB) copied, 1028.88 s, 209 MB/s- Mount to verify it is working, and run
e2fsckjust in case
mkdir -p /mnt/disks/shrinkeddisk
mount -o discard,defaults /dev/sdc1 /mnt/disks/shrinkeddisk
ls -la /mnt/disks/shrinkeddisk
umount /dev/sdc1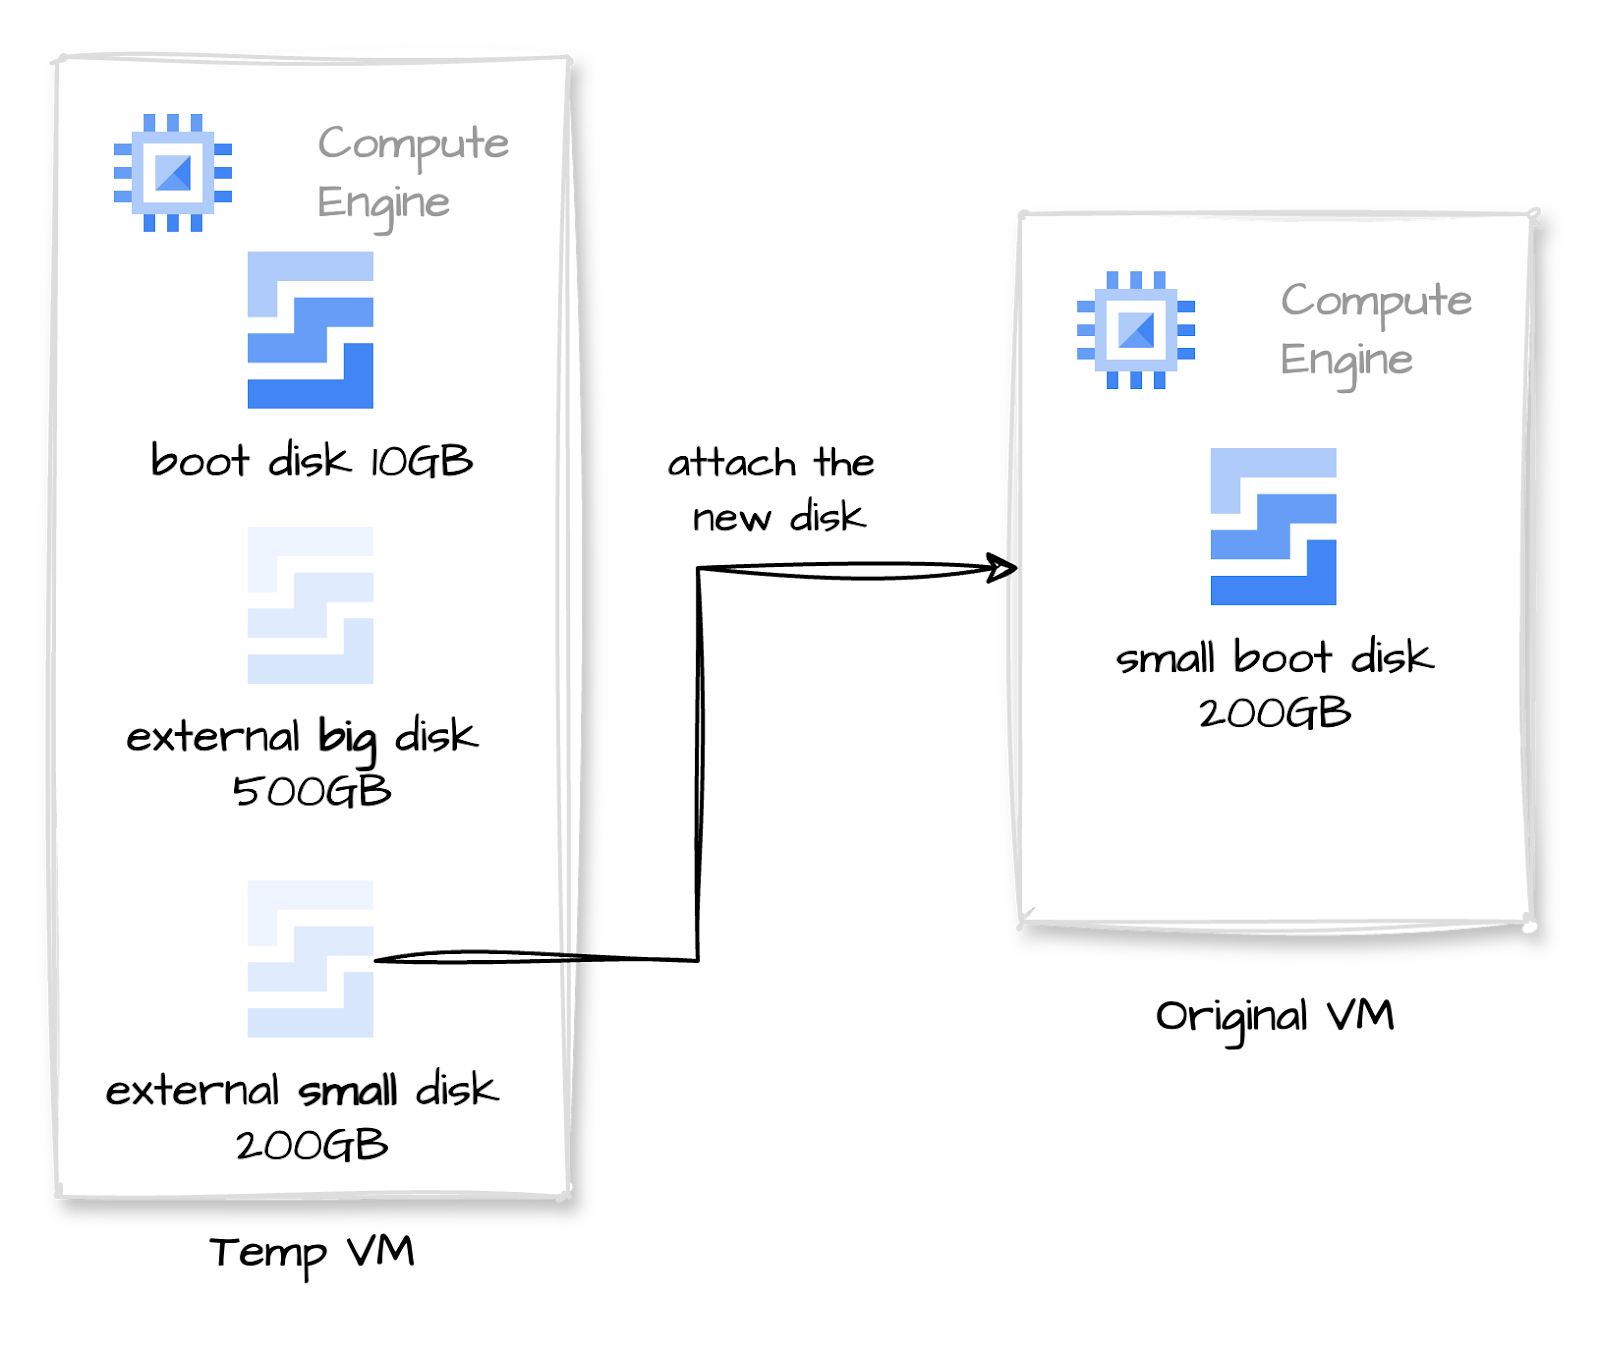
e2fsck -f /dev/sdc1- Detach the new small disk from the temp VM and attach it to the original VM
And we are done!!!